How to photograph jewelry for sale
7 min read
Jewelry is the hardest thing to shoot at home, because you aren’t photographing metal — you’re photographing whatever it reflects. Here’s how to control that.
Jewelry is the hardest thing to photograph at home, and that isn’t your fault. Metal reflects everything around it — including you and your phone — and at that size the camera keeps focusing on the background instead of the chain. Three things fix it: diffused light, control of reflections and deliberate focus.
Why jewelry behaves differently
An ordinary product scatters light, so you see its surface. Polished silver and gold act like mirrors: you don’t see the metal, you see a reflection of the room. That’s why the same ring looks dark and grubby in one shot and blown-out white in the next — what changed isn’t the product, it’s what the product is reflecting.
The practical consequence: you don’t light the jewelry. You arrange the surroundings that will be reflected in it.
Light: big and soft
A point source — a bulb, a flash, direct sun — puts hard white blobs on metal with black gaps between them. You want the opposite: a large, soft glowing surface. At home that means a window on an overcast day, ideally behind a white sheet or tracing paper.
You can build a lightbox from a cardboard box and printer paper: cut out one side, line the back and top with white paper, and let window light come through the paper. The metal then reflects clean, even white instead of your cluttered room. Five minutes of work, and the biggest single improvement you’ll see.
Reflections to eliminate
- You. A dark silhouette above the piece shows up as a black smear. Shoot through a hole cut in a sheet of white card, or move off the reflection axis.
- Colors nearby. A red wall tints silver pink. Surround the set with white.
- Ceiling lights. Turn everything off — same one-source rule as in the guide to product photos at home.
Prep: fingerprints show up as smears
Polished metal records every touch, and at macro magnification a fingerprint becomes a full-frame smudge. Before you set anything up, wipe the piece with a microfiber cloth — the kind sold for eyeglasses. From then on, handle it with cotton gloves or through the cloth.
Tarnished silver should be polished before the shoot, not fixed in editing: tarnish photographs as grime and tells buyers you’re selling something neglected. Blow dust off with a lens blower or canned air — wiping with a finger just spreads it around.
Stones: show the life, not just the shape
A stone photographs differently from its setting because it transmits light rather than reflecting it. Under flat, fully diffused light it goes dull and gray — it reads as plastic.
- Transparent stones (quartz, topaz, cubic zirconia) come alive with light from the side or behind. Moving the piece closer to the edge of the window is often enough to send a beam through the stone and reveal its interior.
- Opaque stones (turquoise, onyx, milky amber) want the opposite — soft light from above, to bring out surface texture.
- Faceted stones only flash at particular angles. Shoot a short series, rotating the piece a few degrees each time, and keep the frame where the right facets lit up.
Don’t fake the sparkle afterwards with a contrast slider — blown highlights strip the stone’s color, and the buyer receives something other than what they saw.
Focus: where phones fail
A fine chain is only a few pixels wide, so autofocus effectively can’t see it and locks onto the background. The result is a sharp table and a soft product.
- Tap directly on the piece and hold until focus and exposure lock (AE/AF lock).
- Respect the minimum focusing distance. Every lens has one — often around 4 inches. Closer than that it simply cannot focus, no matter how long you wait. Back off and crop tighter instead.
- Use macro mode if your phone has it — usually a separate ultra-wide lens that focuses much closer.
- Put the phone on something solid and use the timer. At macro distances even your breathing shifts the focal plane.
One more thing: at high magnification depth of field is razor thin — only a narrow slice will be sharp. Lay the piece flat, parallel to the camera rather than at an angle, if you want the whole design in focus.
Backgrounds and arrangement
Two approaches work. The first is clean white or light gray— neutral, built for marketplace thumbnails. The second is a material with real texture: silk, linen, pale stone, matte ceramic. Texture signals value and, more usefully, gives the metal something pleasant to reflect.
Arrange the chain on purpose: a gentle curve or soft S-shape reads far better than a straight line, and enormously better than a tangle. Hide the clasp behind the piece. If you sell a set, show it together but don’t crowd the frame — one story per shot.
Scale: a ring in a photo has no size
The leading cause of jewelry returns is a mismatch in expected size. A macro shot makes a pendant look like a dinner plate. So always include a reference shot: the piece in a hand, on a wrist, at the neck. That shot sells the idea of “how this will look on me” — and it usually closes the sale, not the macro.
The full set of shots for one piece
Someone buying jewelry online decides from a series, not a single frame. The minimum set is four:
- Hero shot — the whole piece, light neutral background, sharp throughout. This is what competes for the click in search results.
- Macro detail — the setting, the chain weave, the hallmark on the clasp. It answers the question about build quality.
- Scale — the piece in a hand or beside something familiar.
- Worn — at the neck, ear or wrist. This one sells the idea.
If you offer several finishes, shoot each one in an identical setup. Buyers compare variants side by side, and a difference in lighting reads as a difference in the product.
Where a home setup stops being enough
All of the above is doable, and for a handful of pieces it’s the cheapest route there is. The limits are three, and all of them are about scale rather than skill.
First, repeatability. Twenty designs need twenty identical setups; let the weather change between batches and your shop grid stops looking like one collection. Second, worn shots. They are what sells, but they need a model, styling and a shoot — rarely affordable for a small brand, and “my own hand under a desk lamp” always shows. Third, time: macro plus detail plus a worn shot, times twenty designs, is not an afternoon.
How we solve this in Renvido
Renvido takes an ordinary photo of a piece — even one shot on a phone by the window — and produces both a clean product shot and a worn shot on a model, without arranging a session. The engine has jewelry-specific rules: it preserves the exact shape and proportions of the piece, keeps metal and stones critically sharp, and doesn’t scatter unrelated props around it.
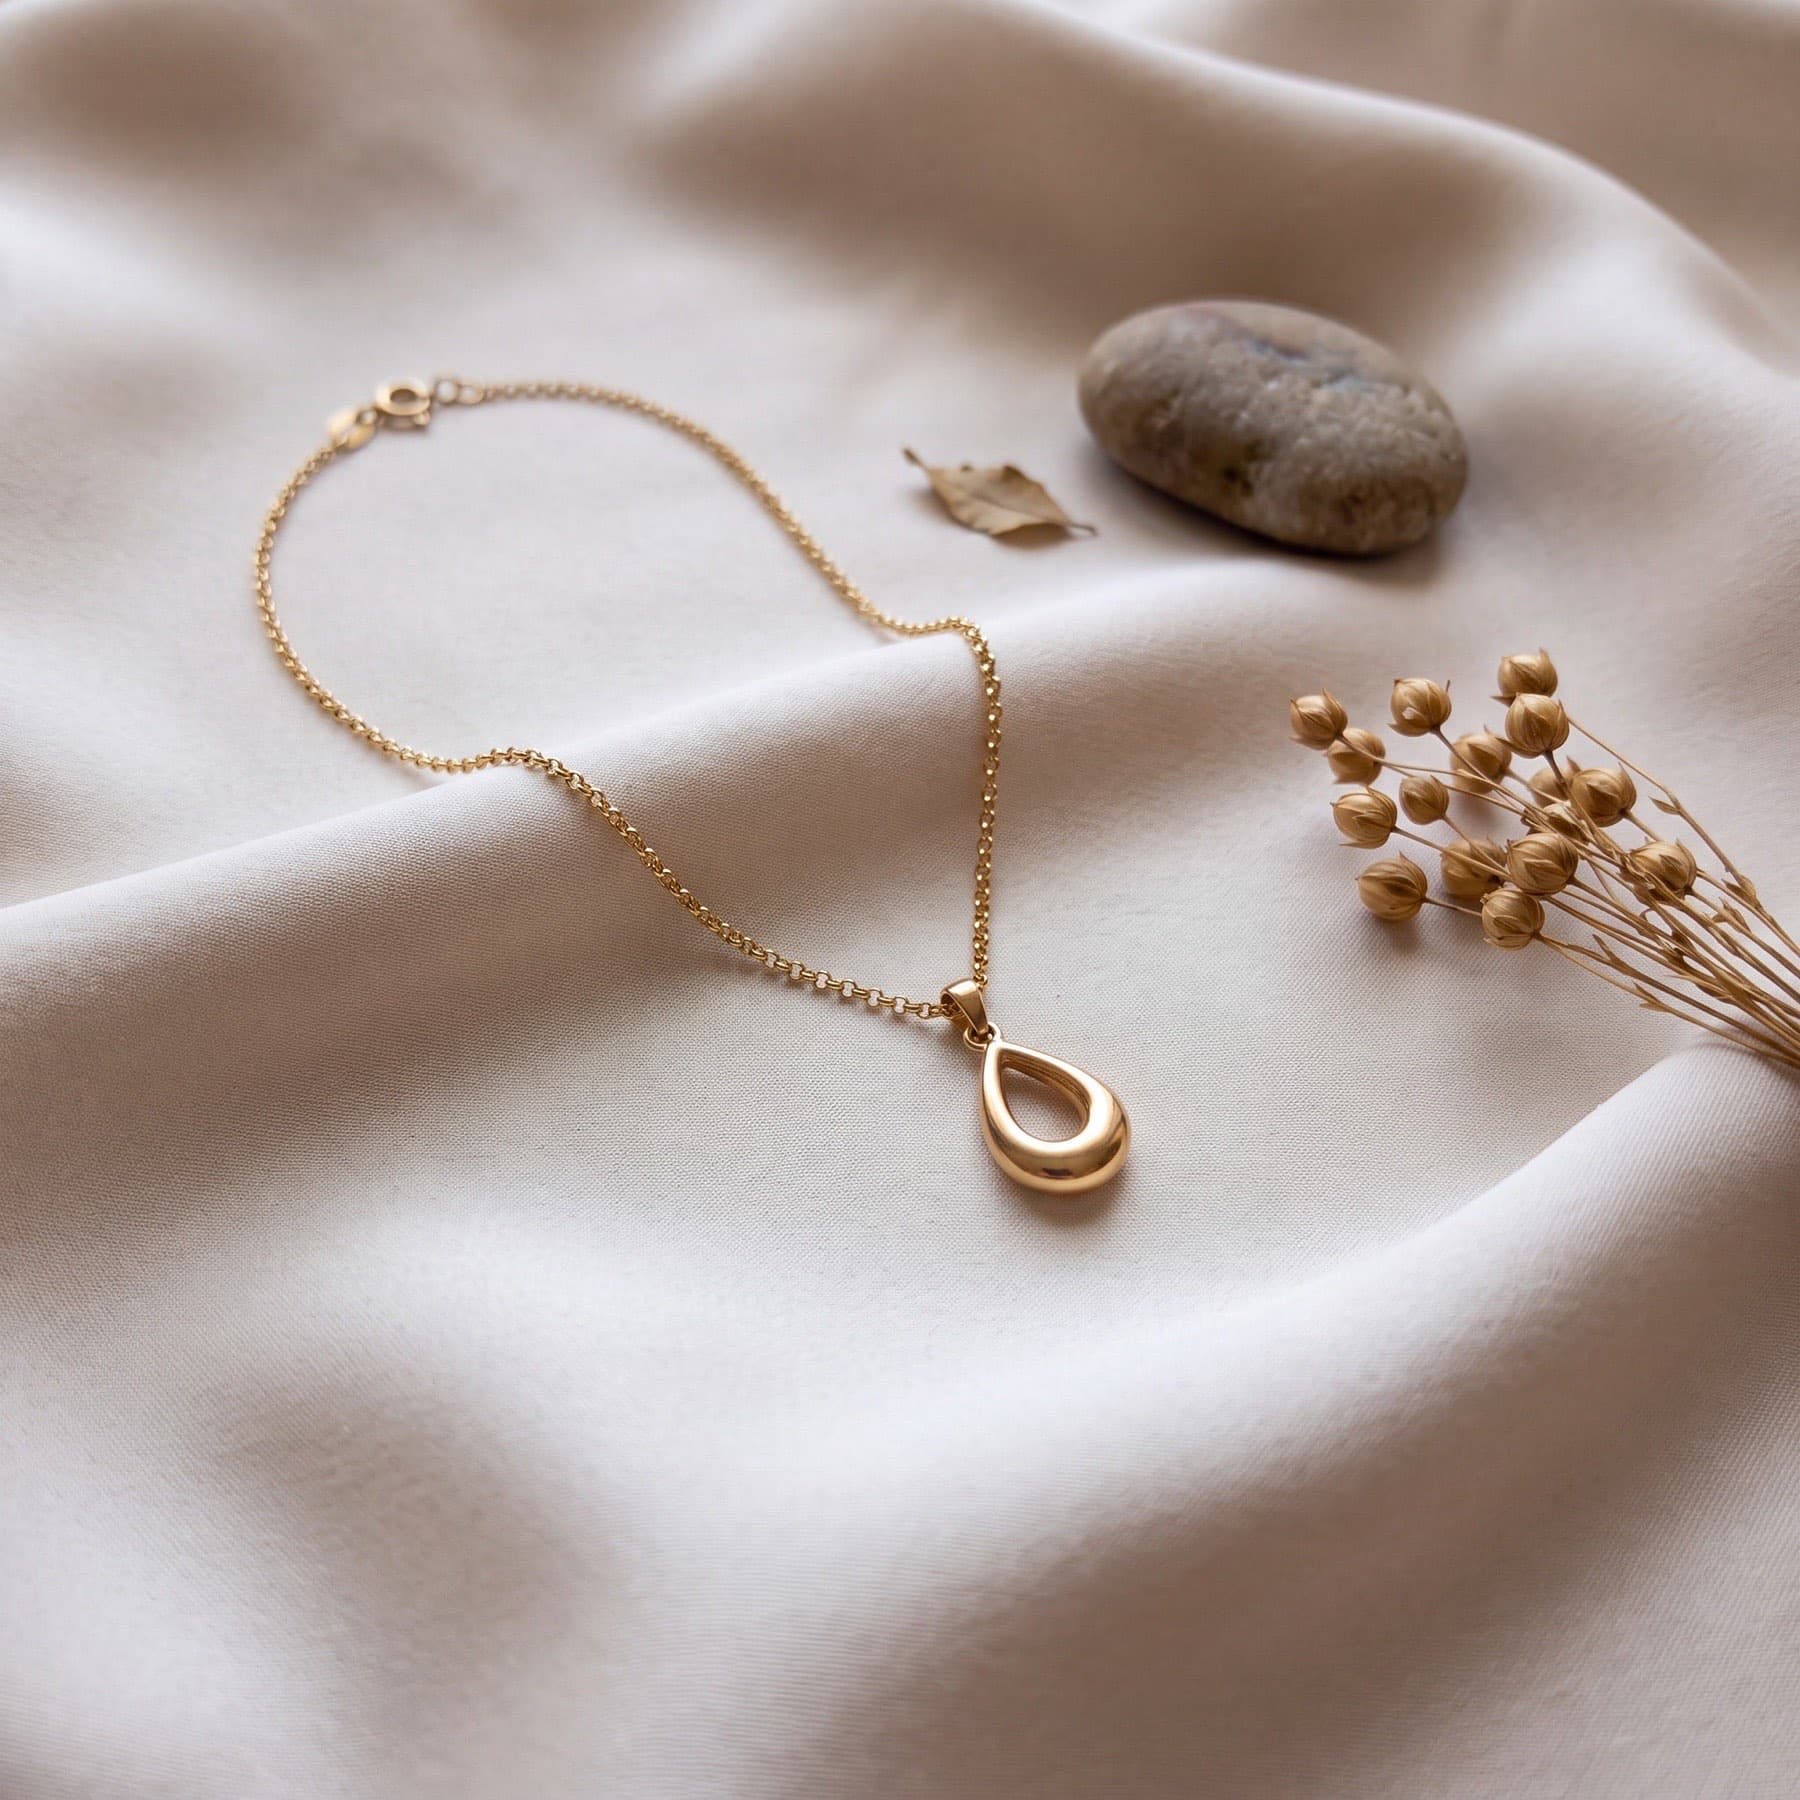 Renvido photo
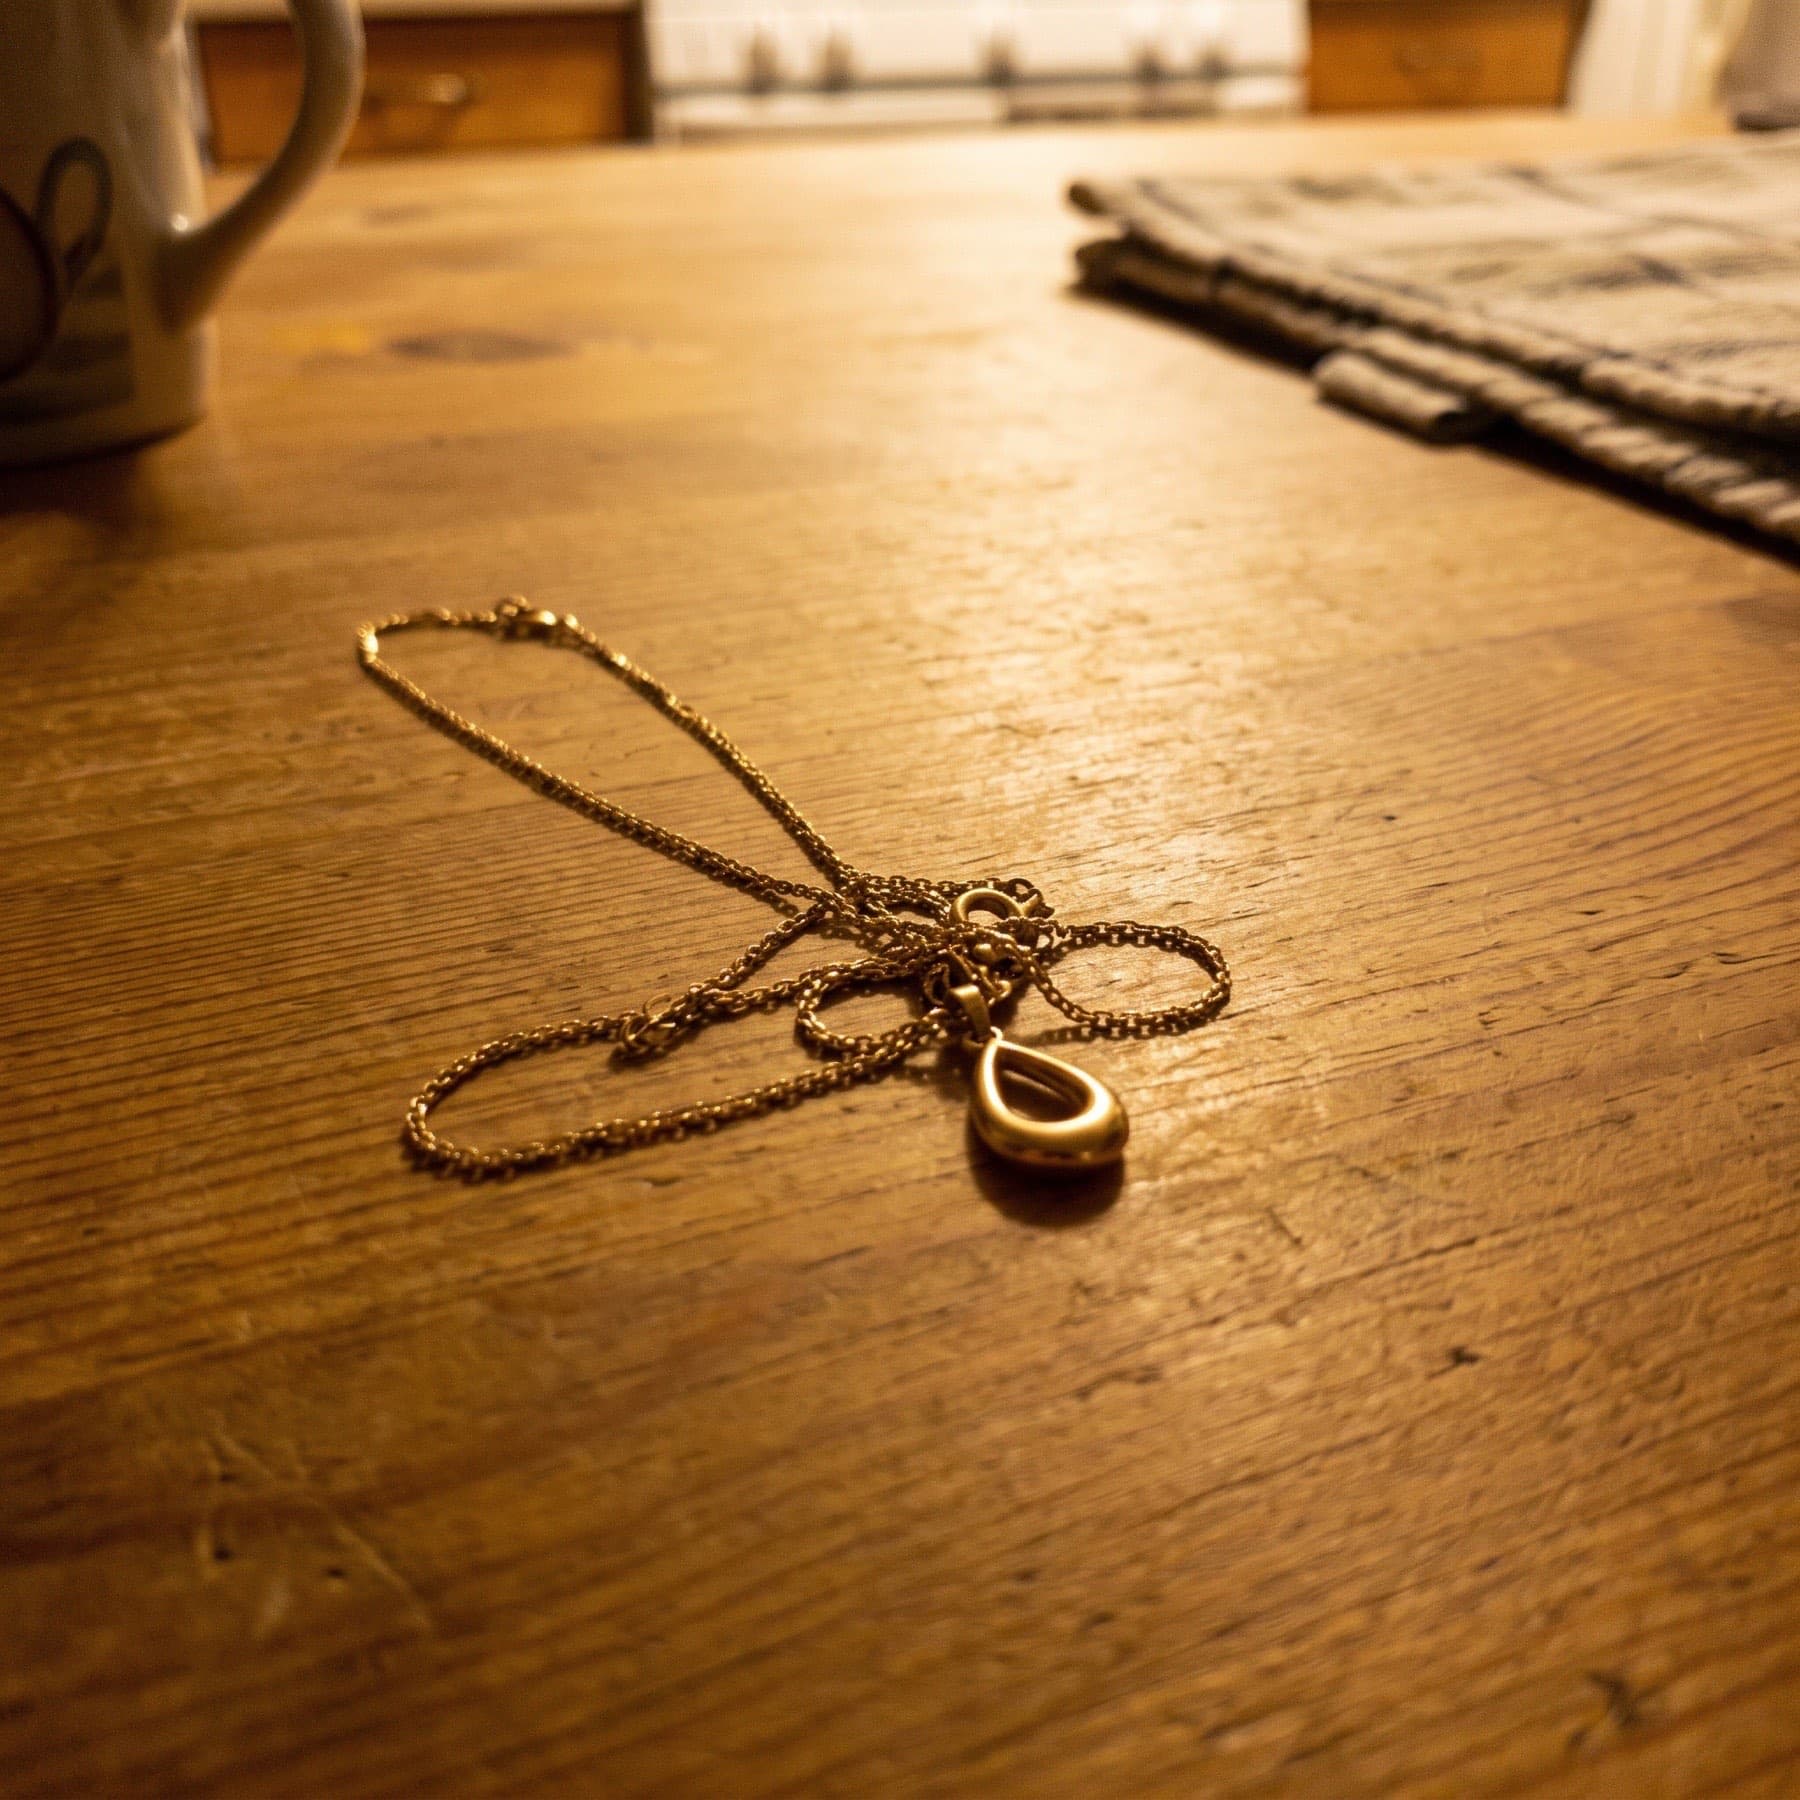 Phone photo
The worn shot comes from that same product photo — you don’t need a model or a stylist to show how a piece sits on a person.
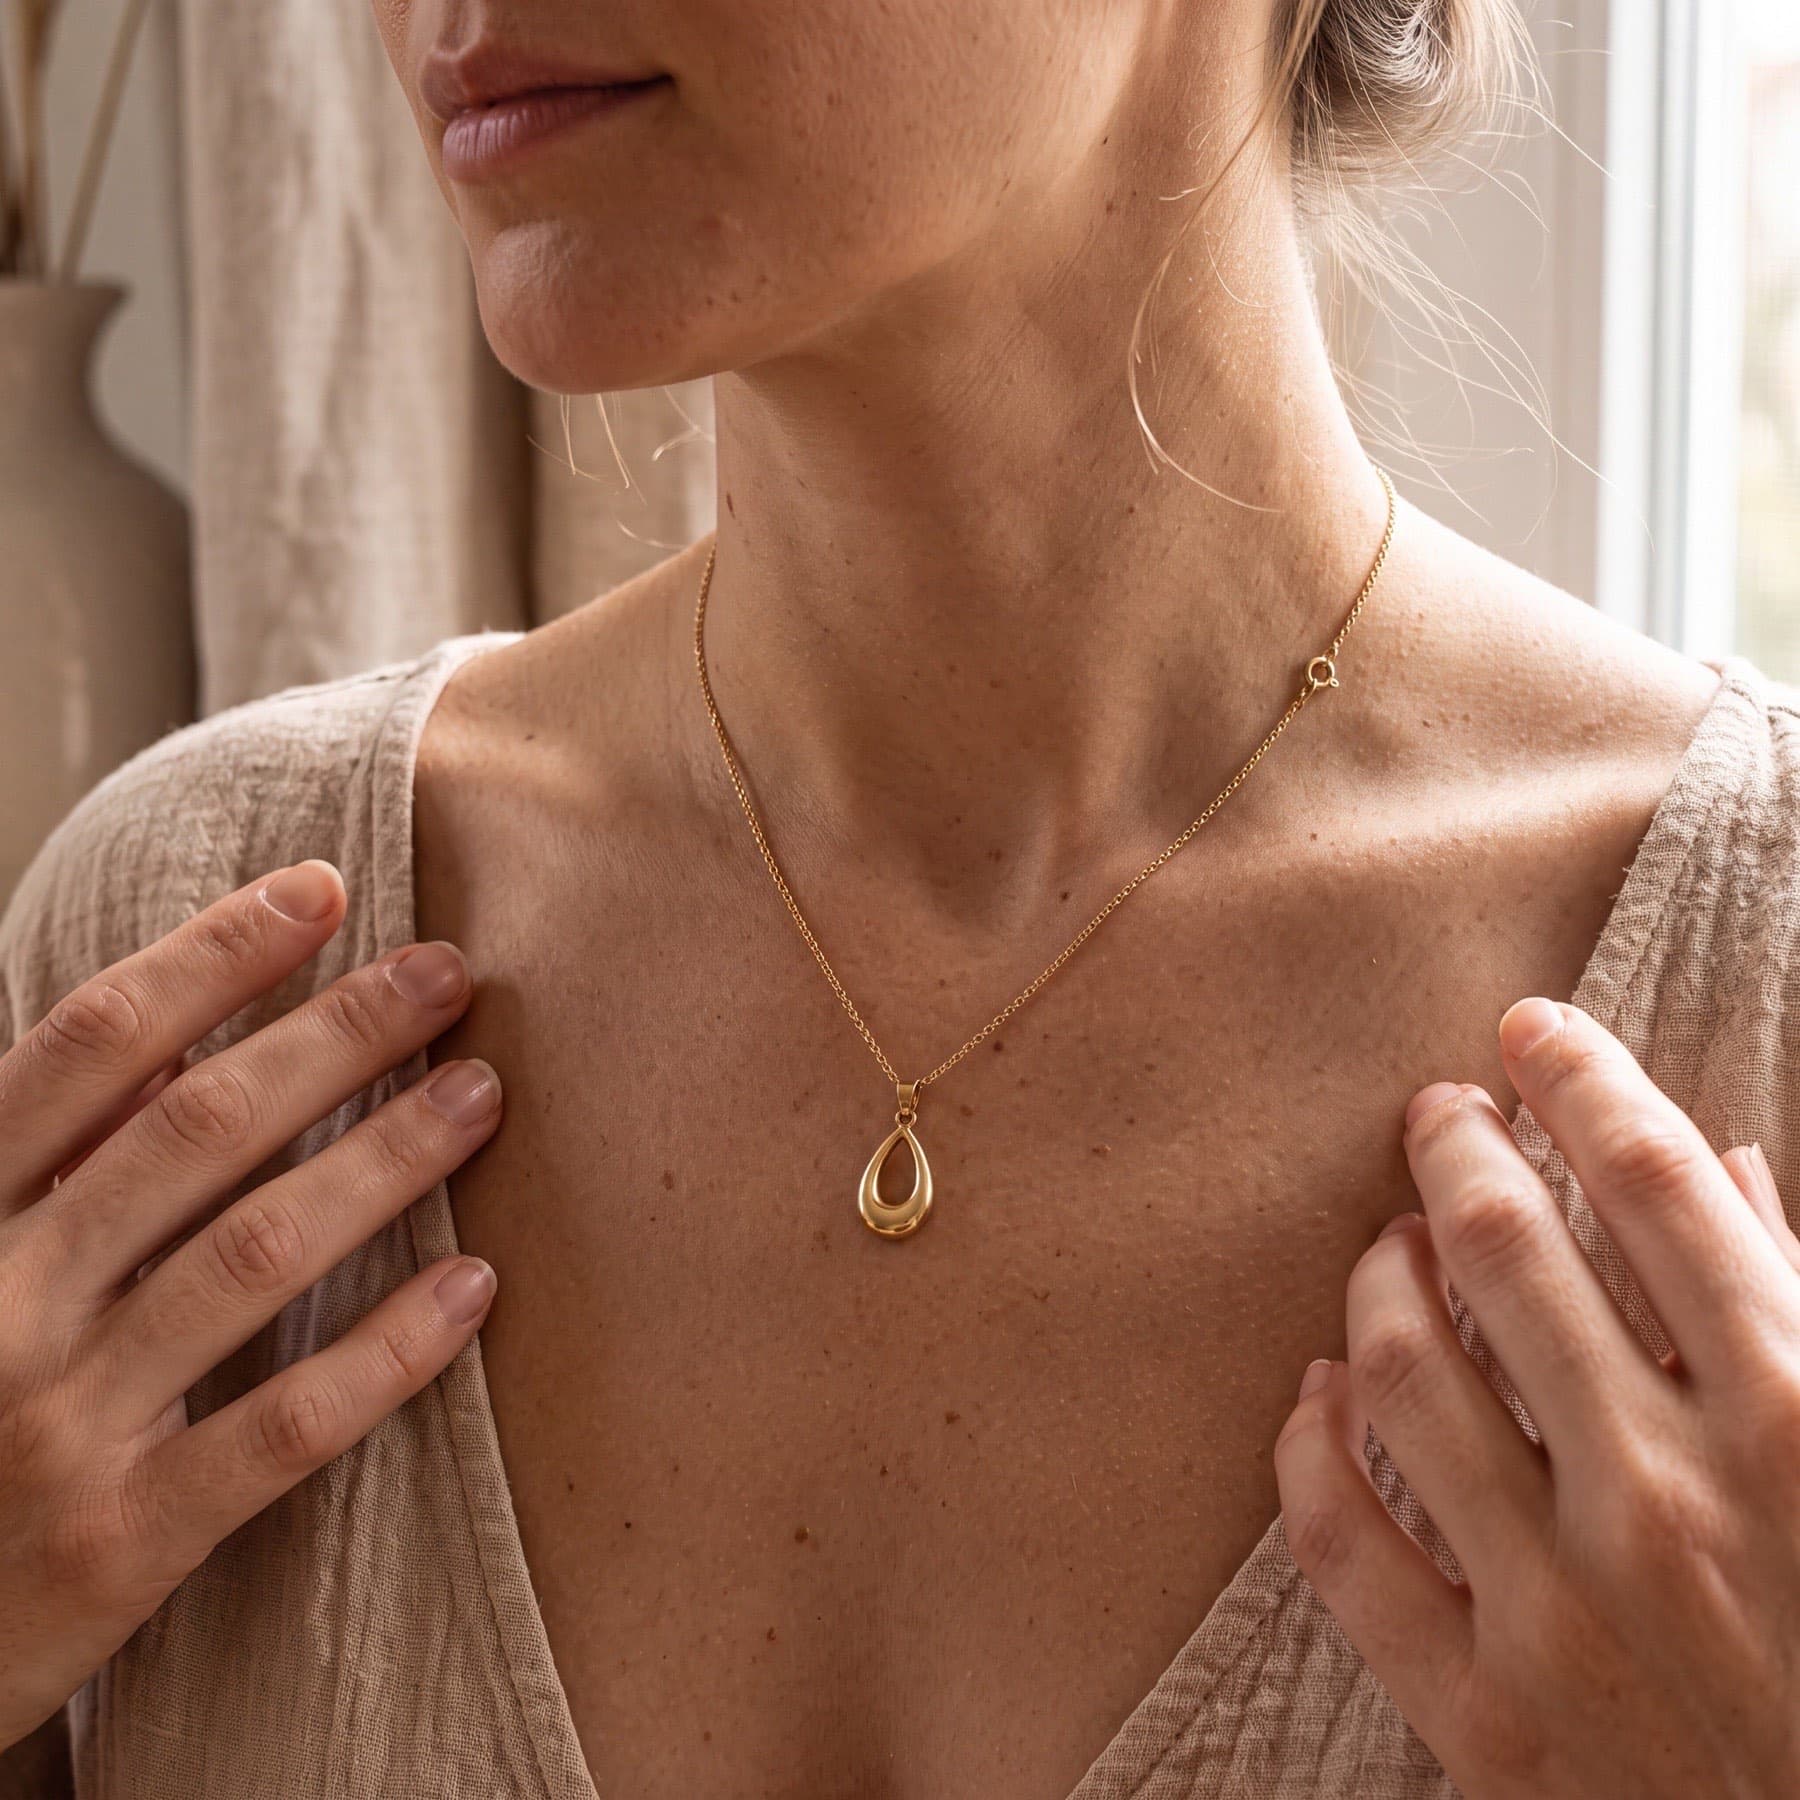 Renvido photo
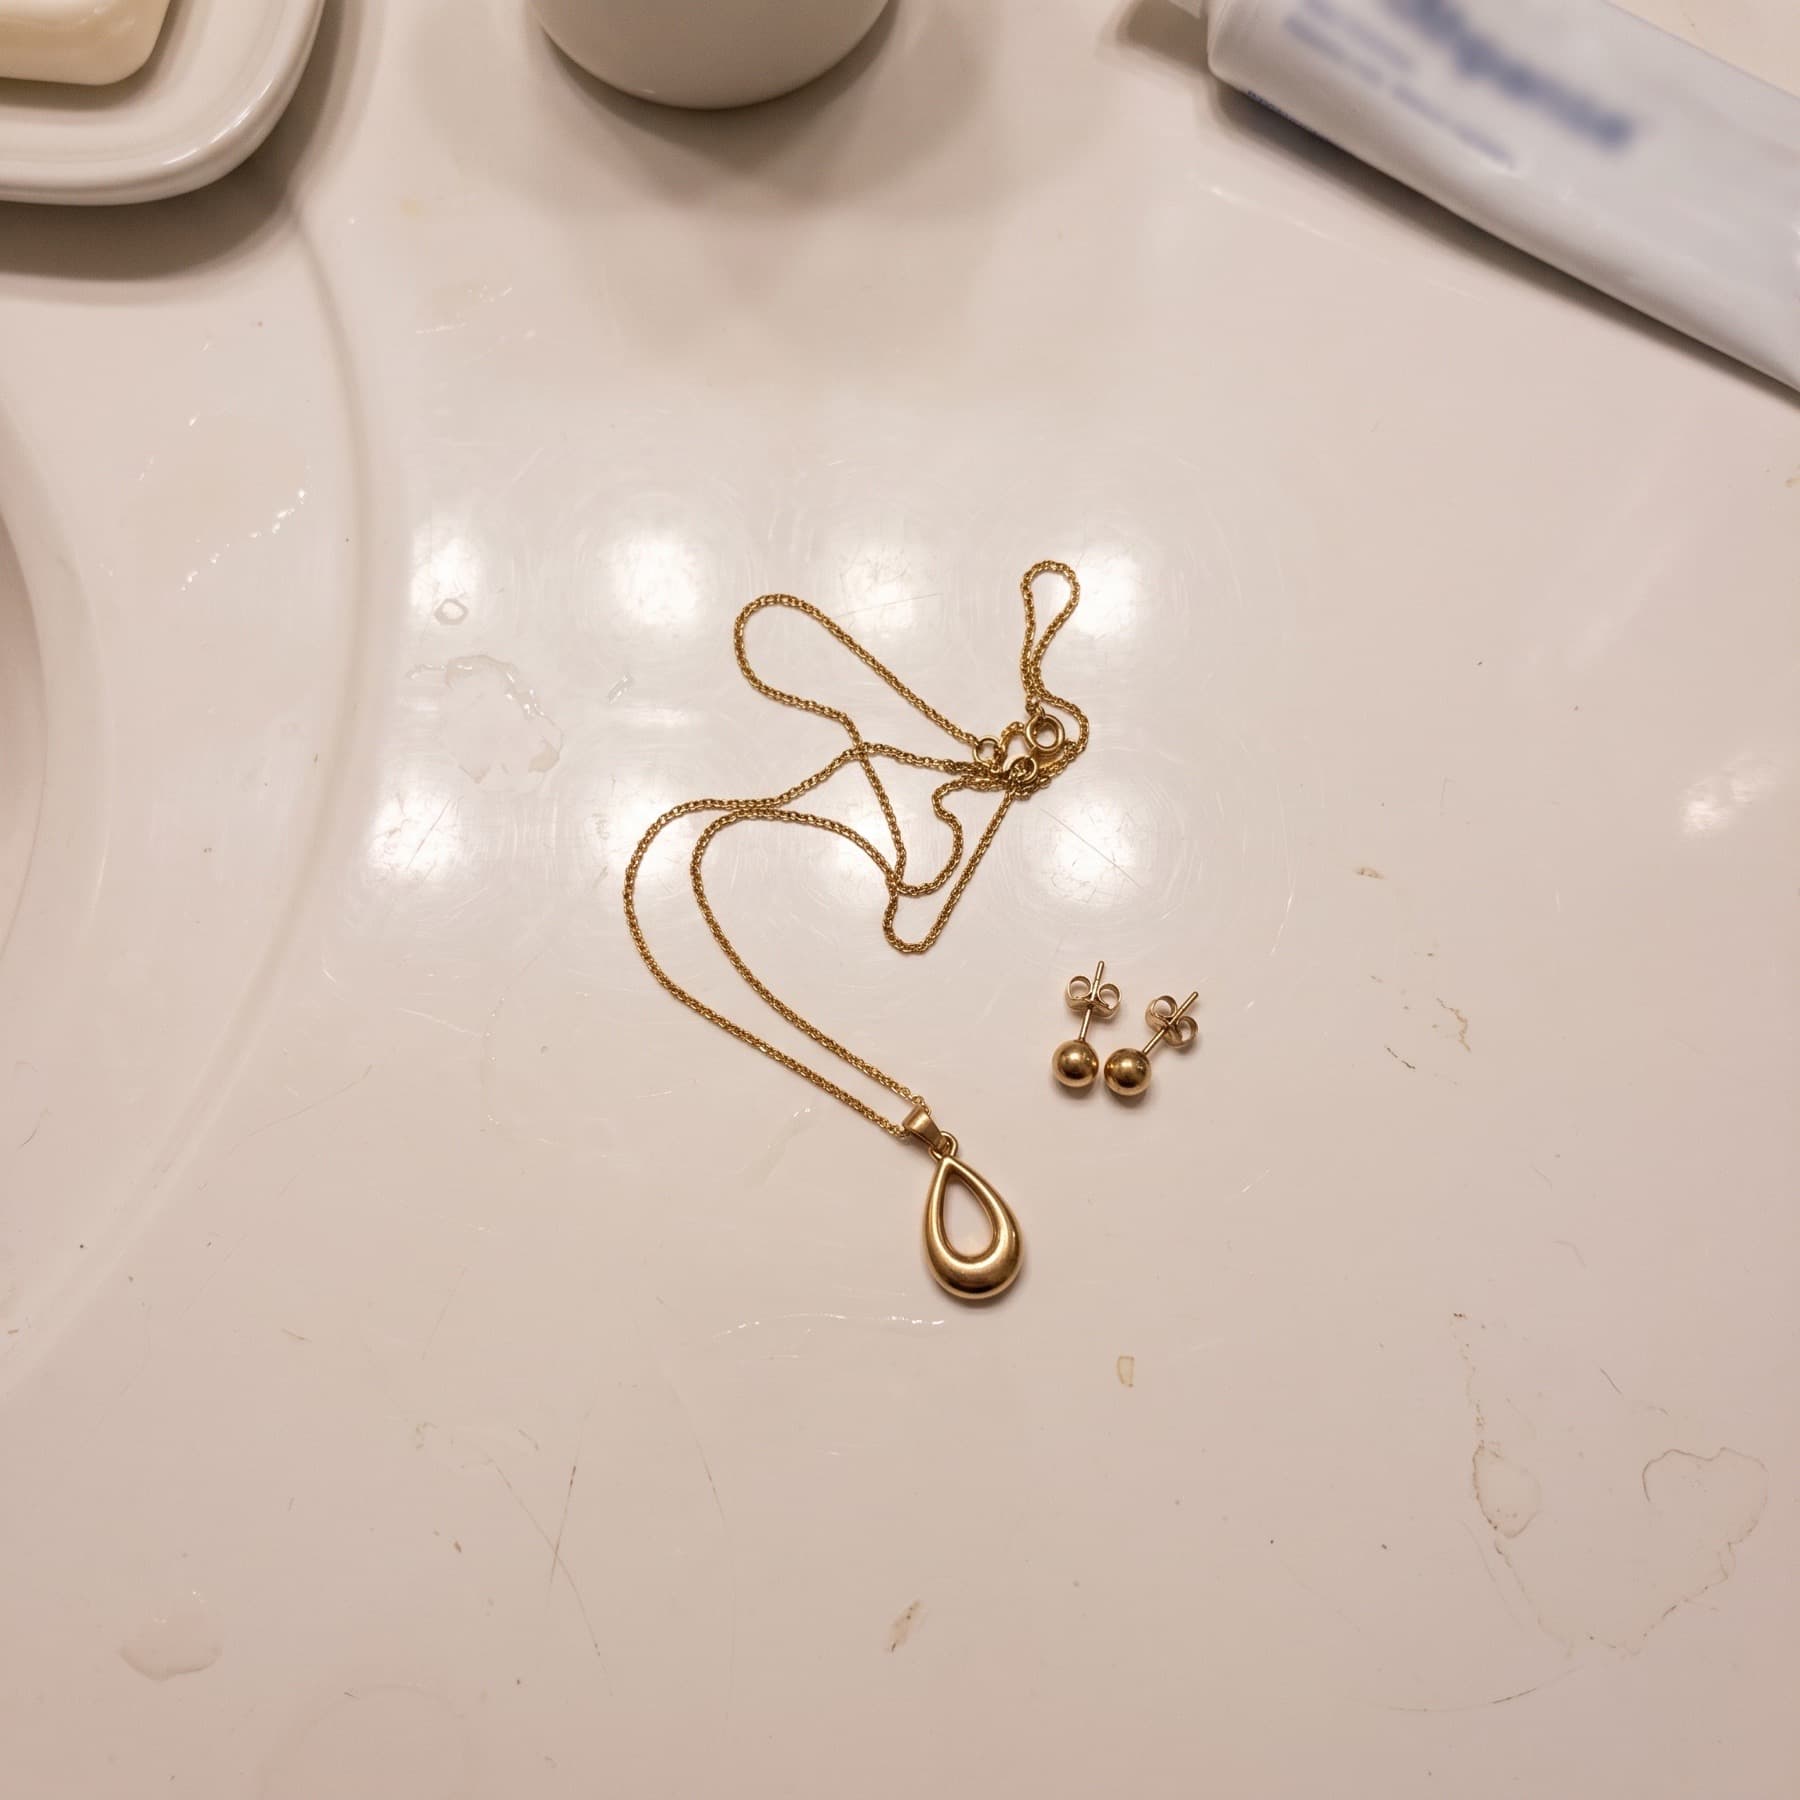 Phone photo
And since a photo is only half a listing: the product description and a ready post come out of the same pass, in your brand’s voice — so you don’t finish with a folder of files and an empty caption box.